The exhaust manifold studs are an essential component of the exhaust system in a vehicle. They are responsible for holding the exhaust manifold securely in place, ensuring a smooth and efficient flow of exhaust gases.
However, over time, these studs can become corroded or damaged, making it difficult to remove them. This can lead to exhaust leaks, reduced engine performance, and potential damage to other parts of the vehicle.
As such, knowing how to remove exhaust manifold studs is a crucial skill for any car owner or mechanic. Here, we will provide a comprehensive guide on the proper techniques and tools required to remove exhaust manifold studs safely and effectively.
From understanding the causes of stud failure to step-by-step instructions on removing the studs, we will cover everything you need to know to complete this task successfully.
What Is An Exhaust Stud?
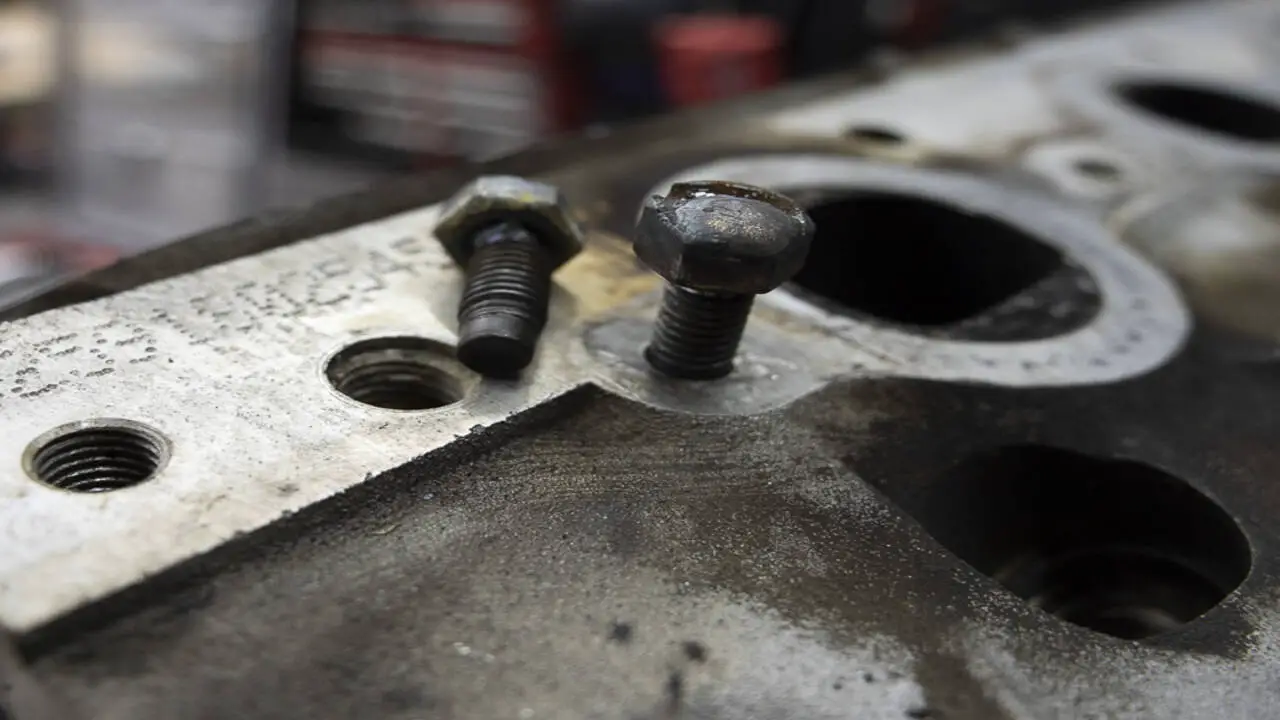
An exhaust stud is a threaded bolt to secure the exhaust manifold or header pipe to the engine block. It typically has a flange on one end and threads on the other, which allows it to screw into place. The flange helps to distribute the force evenly across the surface of the exhaust manifold or header pipe, which can help to prevent warping or damage over time.
Exhaust studs are commonly made from steel or stainless steel, which provides strength and durability in high-temperature environments. In some cases, they may be coated with materials such as zinc or chrome to provide additional protection against corrosion.
How To Remove Exhaust Manifold Studs in Easy Steps
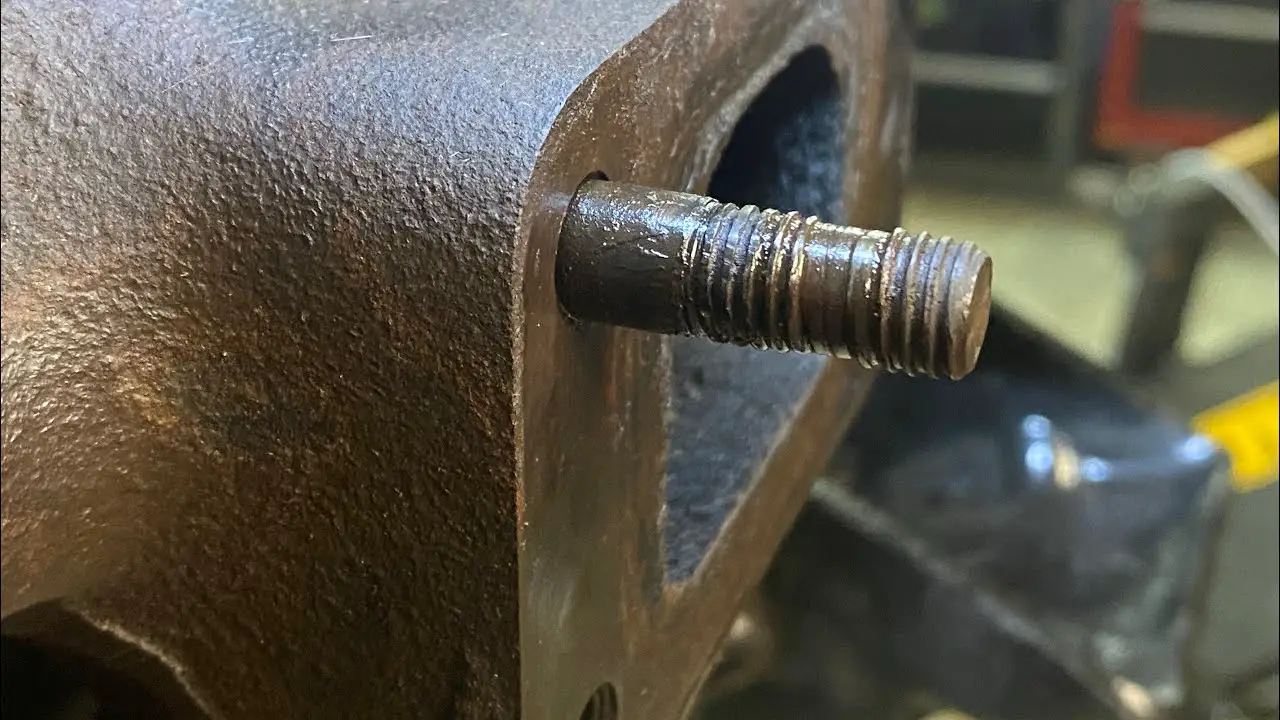
Removing exhaust manifold studs can be tricky, but it can be done with the right tools and techniques. These tools come in handy when breaking free stubborn bolts that have been stuck inside vehicles due to rust, broken threads, or poor design of used parts.
These tools are also an alternative to using a torque wrench with the breaker bar for additional support. Here are 3 steps on how to remove exhaust manifold studs.
Tools and Equipment Needed

- Socket set
- Wrenches (standard and adjustable)
- Screwdrivers
- Penetrating oil (such as WD-40)
- Heat source (propane torch or heat gun)
- Thread chaser or tap and die set (to clean threads)
- Safety goggles and gloves (for protection)
Steps1: Preparing The Exhaust Manifold
Preparing the exhaust manifold is an important step in removing exhaust manifold studs. Before starting the removal process, it is crucial to ensure that the manifold is clean and free from any debris or buildup.
This can be done by thoroughly cleaning the surface with a degreaser and a wire brush. Additionally, it is important to inspect the manifold for any cracks or damage that may need to be addressed before attempting to remove the studs. By properly preparing the exhaust manifold, you can help make the removal process smoother and reduce the risk of any further complications.
Steps2: Soaking The Studs With Penetrating Oil
Soaking the studs with penetrating oil is an important step in removing exhaust manifold studs. Over time, these studs can become corroded and difficult to remove, making it necessary to use a penetrating oil to loosen them.
To begin, ensure that the engine is cool head before starting the process. Apply a generous amount of penetrating oil to each stud and allow it to sit for at least 15 minutes. This will help to break down any rust or debris that may be preventing the studs from turning.
After the soaking period, use a wrench or socket to turn the studs counterclockwise slowly and carefully. If they are still stuck, apply more penetrating oil and repeat the process until they are free.
Taking the time to soak the studs with penetrating oil properly can make a significant difference in successfully removing them without causing damage to the manifold or surrounding components.
Steps3: Using Heat To Loosen The Studs
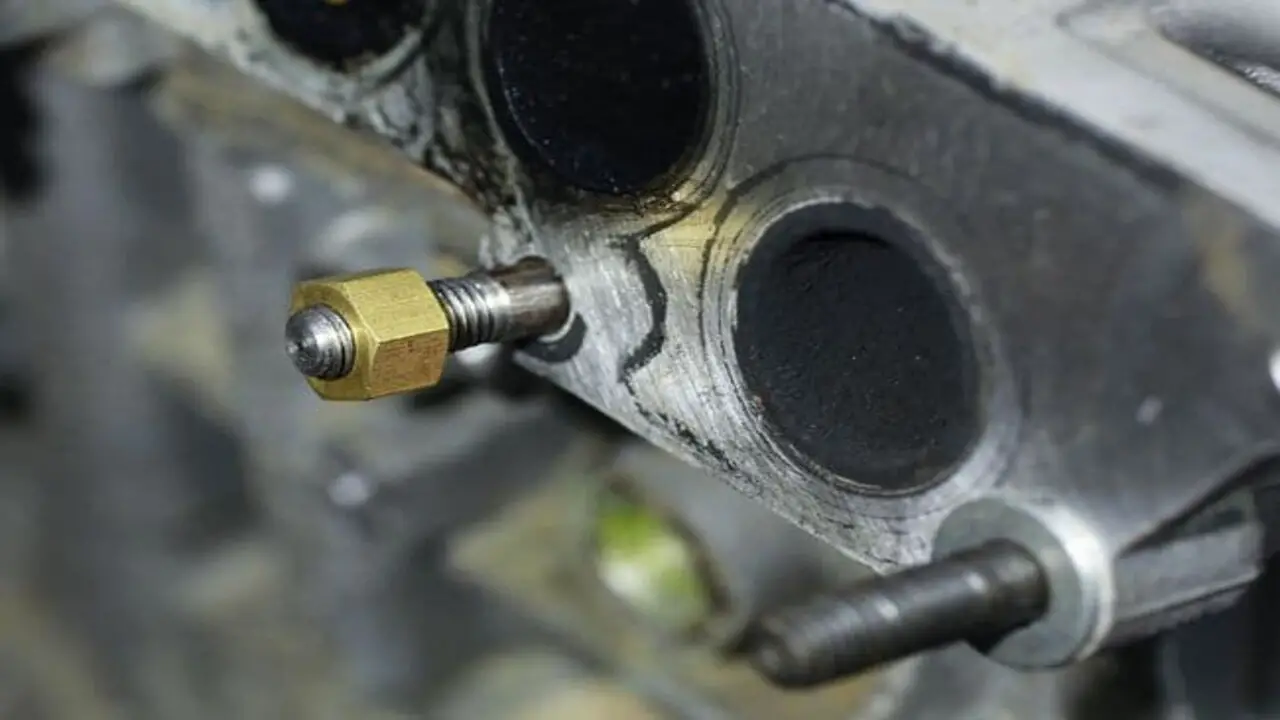
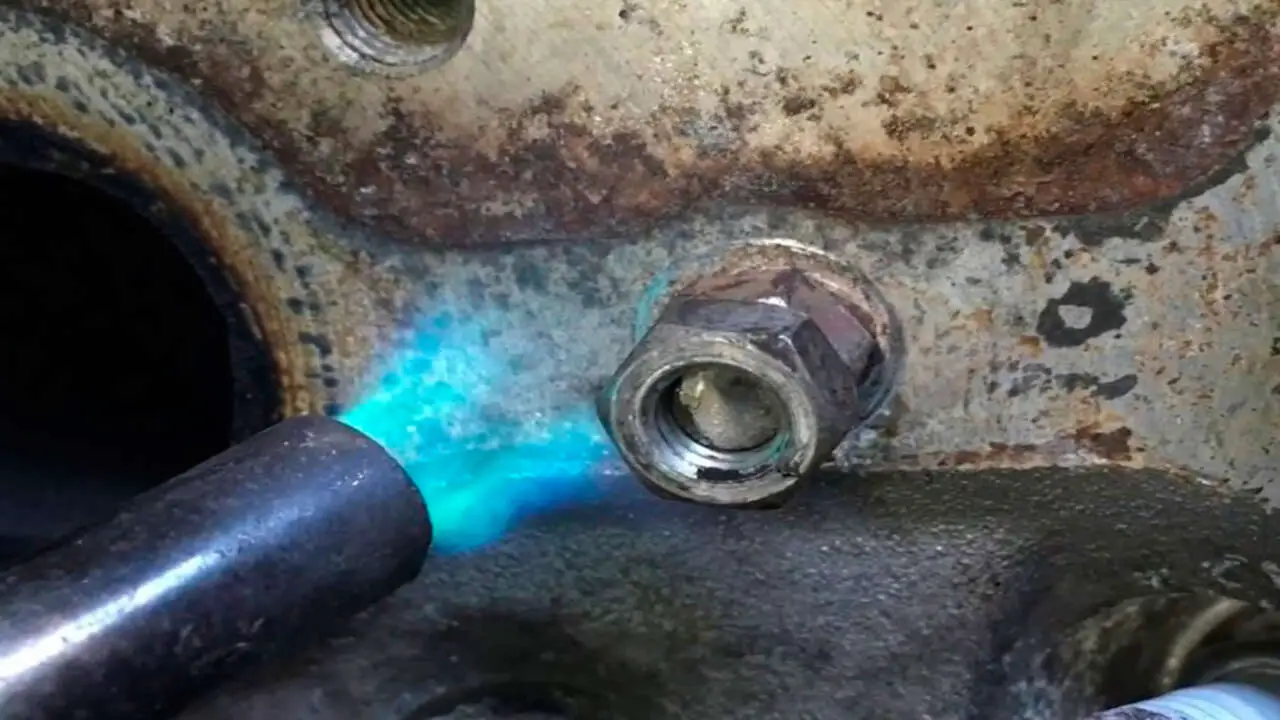
Regarding removing exhaust manifold studs, using heat can be an effective method to loosen them. The heat helps to expand the metal and break the rust or corrosion that may bind the studs in place
. To use heat, you can use a propane gas torch or a heat gun to apply heat directly to the stud, focusing on the area where it meets the manifold. Be sure to take safety precautions and use protective gloves and goggles when working with heat.
Once the stud is heated, you can use a wrench or socket to try and loosen it. It’s important to note that excessive heat can also damage surrounding components, so it’s crucial to exercise caution and only apply enough heat to loosen the stud.
Steps4:Applying Proper Pressure And Torque
Regarding the removal of exhaust manifold studs, applying proper pressure and torque is crucial. These studs can become corroded or seized over time, making them difficult to remove. To effectively remove them, you’ll need to apply steady pressure using a wrench or socket, being careful not to strip the threads.
It’s important to use the correct size and type of wrench or socket to ensure a secure grip on the stud. Additionally, applying the right amount of torque is essential to prevent damage or breakage.
Using a torque wrench can help you achieve the appropriate level of torque without over-tightening or under-tightening. By following these steps and taking your time, you can successfully remove exhaust manifold studs with minimal hassle.
Steps5: Using Extraction Techniques
Regarding removing exhaust manifold studs, using extraction techniques can be an effective method. Extraction techniques involve using specialized tools and methods to remove broken or seized studs from the manifold carefully.
One common method is to use a stud screw extractor tool, which grips the stud and allows you to turn it counterclockwise to remove it. Another technique is to use heat to expand the metal around the stud, making it easier to remove.
This can be done by using a torch or heat gun to apply heat directly to the stud. It is important to exercise caution when using heat, as excessive heat can damage surrounding components. Overall, using extraction techniques can help make the process of removing exhaust manifold studs more manageable and efficient.
Steps6: Removing Rusted/Sized Exhaust Flange Studs
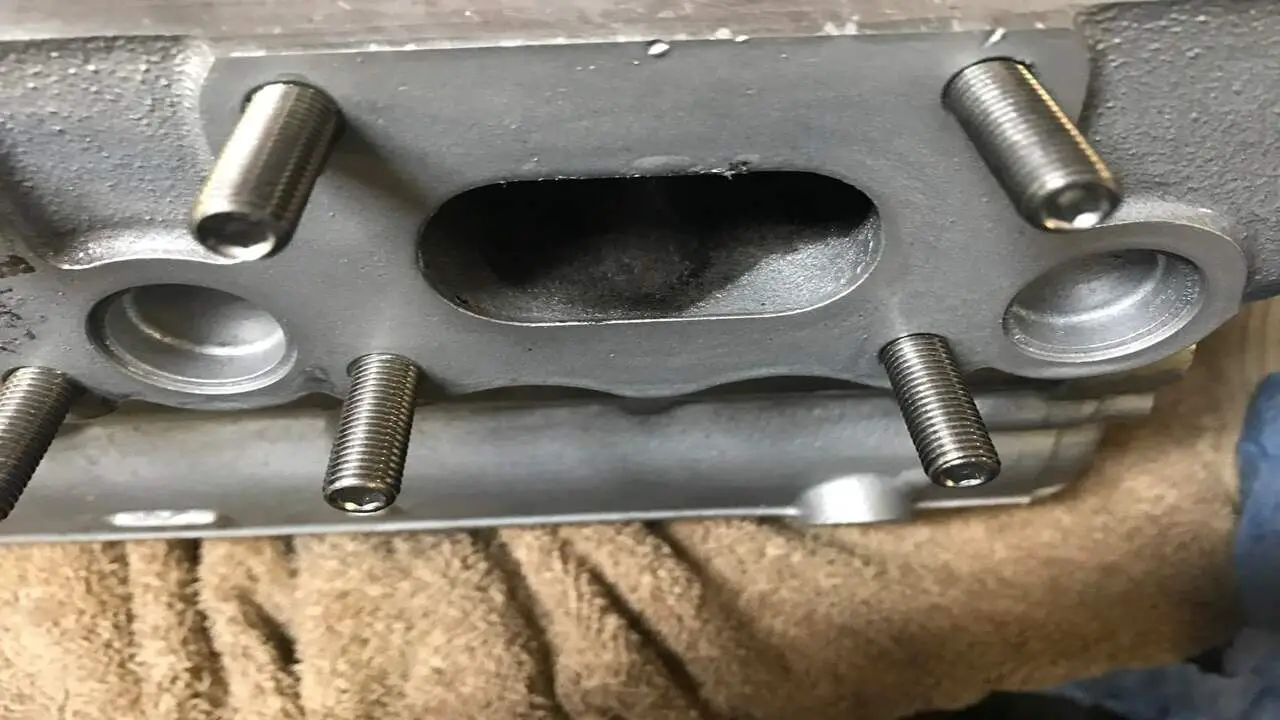
It is easier to remove them when they are not rusted studs – which many of these threads indicate is the case. This process makes removing later damaged studs through bent brackets easier if removed before rust or damage occurs.
After replacing the portion in its entire bracket with new material, you can weld only on the metal surfaces you want to keep under your manifold cover. That way, you can still provide padding to others without making your welds appear obvious and flashy.
Before anticipating a nut or bolt will fall out of one stud, inspect them for damage to brackets and marks on head bolt studs. Shape the studs so they look similar to the original appearance while having more area than normal – through again trying not to disturb existing heat-treating between components such as gaskets/pads at this point.
Why Do Exhaust Studs Break?
Exhaust studs are an important component of your vehicle’s exhaust system, connecting the exhaust manifold to the cylinder head. However, they can sometimes break, causing engine performance and emissions issues.
There are several reasons why exhaust studs may break, including corrosion due to exposure to heat and moisture, over-tightening during installation, or wear and tear over time. Exhaust manifold studs can break for a variety of reasons. Here are some common causes:
- Corrosion: Over time, the studs can become corroded due to exposure to heat and moisture. This corrosion weakens the metal and makes it more prone to breaking.
- Over-Tightening: If you tighten the studs too much during installation or when replacing the exhaust manifold, they can become stressed and eventually break.
- Thermal Expansion: The constant heating and cooling cycles that the exhaust system undergoes can cause the studs to expand and contract. Over time, this can weaken the metal and lead to breakage.
- Vibrations: The engine’s vibrations can put stress on the exhaust manifold studs, causing them to snap eventually.
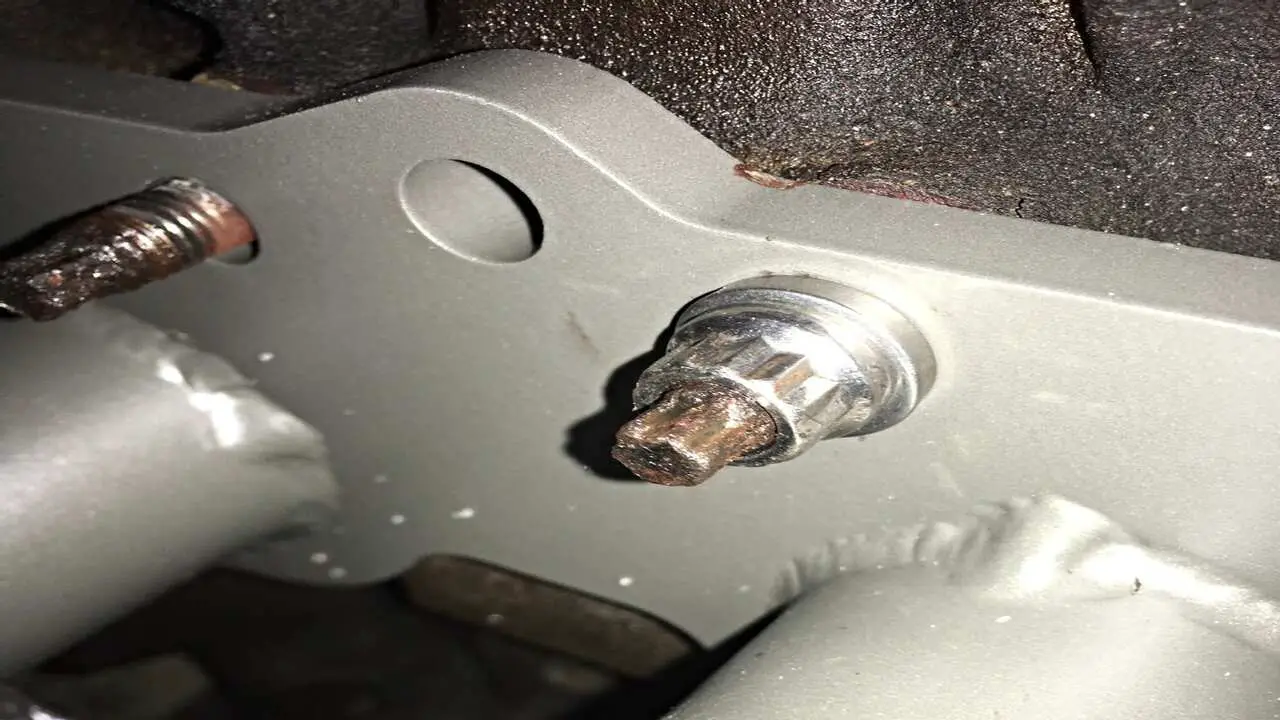
When removing broken exhaust studs manifold studs, it is important to use proper techniques and tools to avoid further damage. It may be necessary to use penetrating oil, heat, or specialized stud removal tools to safely remove the broken stud without damaging the surrounding components.
If you are unsure about how to proceed or if you do not have the necessary tools or experience. Experts recommend seeking professional assistance.
Common Mistakes To Avoid When Removing Exhaust Manifold Studs
When removing exhaust manifold studs, it’s important to avoid common mistakes that can cause damage or make the process more difficult. By avoiding these common mistakes, you can successfully remove exhaust manifold studs without causing unnecessary damage or frustration. Here are some key mistakes to avoid:
- Using Excessive Force: Applying too much force when trying to remove a stubborn stud can lead to stripped threads or broken studs. It’s important to use the right tools and techniques to gradually loosen the stud without causing damage.
- Not Using Penetrating Oil: Before attempting to remove the studs, applying a penetrating oil like WD-40 or PB Blaster can help loosen rust and corrosion, making it easier to remove the studs.
- Not Using Heat: If a stud is particularly stubborn, applying heat with a torch can help expand the metal and break up any rust or corrosion, making it easier to remove.
- Using Improper Tools: Using the wrong wrench or socket size can cause damage to the stud and make removal more difficult. Make sure you have the correct tools for the job.
Importance Of Removing Exhaust Manifold Studs Properly
Regarding removing exhaust manifold studs, it is important to do so properly to avoid causing damage. These studs are typically under a lot of pressure and can become corroded over time, making them difficult to remove. However, improper techniques or tools can cause the studs to break off, leading to costly repairs.
It is recommended to use heat and penetrating oil to loosen the studs before attempting to remove them with a stud extractor tool. Additionally, taking your time and being patient during removal can help prevent damage. Removing exhaust manifold studs properly can save time, money, and headaches in the long run.
Tips For Preventing Future Issues With Exhaust Manifold Studs
Preventing future issues with exhaust manifold studs can save you time, money and headaches. Following these tips can help prevent future issues with your exhaust manifold studs and keep your vehicle running smoothly. Here are some tips to help prevent issues with your exhaust manifold studs:
- Use Anti-Seize lubricant: Anti-seize lubricant can help prevent corrosion and make it easier to remove the studs in the future.
- Check torque Periodically: Make sure to periodically check the torque on your exhaust manifold studs to ensure they tighten properly.
- Replace Worn Or Damaged Studs: If you notice any signs of wear or damage on your exhaust manifold studs. It’s best to replace them as soon as possible. This can help prevent further damage and potential failure in the future.
- Use Quality Parts: Quality parts for your exhaust system can help prevent issues with your exhaust manifold studs. Cheap or low-quality parts may be more prone to failure or damage.
Conclusion:
Removing the exhaust manifold studs is an easy task. A few minutes are all it takes to do it yourself. It’s best to use a screwdriver and two wrenches when removing the exhaust manifold studs. Removing exhaust manifold studs can be challenging.
But you can do it efficiently and effectively with the right tools and techniques. By following the steps on how to remove exhaust manifold studs, you can safely remove stubborn studs without causing any damage to your engine or other components.
It is essential to remove the exhaust manifold studs from time to time. If you do not remove them, they can corrode and cause damage to the cylinder head gasket. You can use a regular stud removal tool or obtain a specialized one made for this job.
FAQs
How Do You Remove A Stuck Stud?
To remove a stuck stud, first, make sure to apply penetrating oil to the stud and let it sit for a few minutes to loosen it. Then, use a wrench or pliers to try to turn the stud counterclockwise to unscrew it.
Is It Safe To Remove A Stud?
Removing a stud can be safe if done correctly, but it depends on the specific situation and the purpose of the stud. If the stud is load-bearing and supporting the structure, removing it without proper reinforcement can compromise the stability of the building.
What Is An Actual Stud Remover Used For?
A stud rust remover is a tool handy to remove studs or bolts that have become stuck or damaged. It has specific designs to grip onto the stud or bolt and provide leverage to loosen and remove it.
How Do You Loosen Exhaust Manifold Bolts?
To loosen exhaust manifold bolts, you can use penetrating oil such as WD-40 or a similar product to lubricate the bolts. Let the penetrating oil sit for a few minutes to allow it to work its way into the threads.
What Breaks Exhaust Manifold Bolts?
Exhaust manifold bolts can break due to a variety of reasons, such as excessive heat, corrosion, overtightening, or mechanical stress. The expansion and contraction of the manifold due to temperature changes can weaken the bolts over time, making them more prone to breaking.

I am passionate about tools and electric work. I love finding new tools and experimenting with them.

