Bleeding the rear brakes on your 2003 Chevy Silverado is an essential maintenance task that should not be overlooked. Over time, air can enter the rear brake lines, reducing the effectiveness of your brakes and potentially compromising your safety on the road.
Fortunately, brake bleeding is relatively simple and can be done at home with the right tools and proper technique. We will guide you on how to bleed brakes on a 2003 chevy silverado, ensuring your brakes function at their maximum capacity. So, whether you are a seasoned DIY mechanic or a newbie looking to save on costly dealership fees, this guide will equip you with the knowledge and skills to properly bleed the brakes on your 2003 Chevy Silverado.
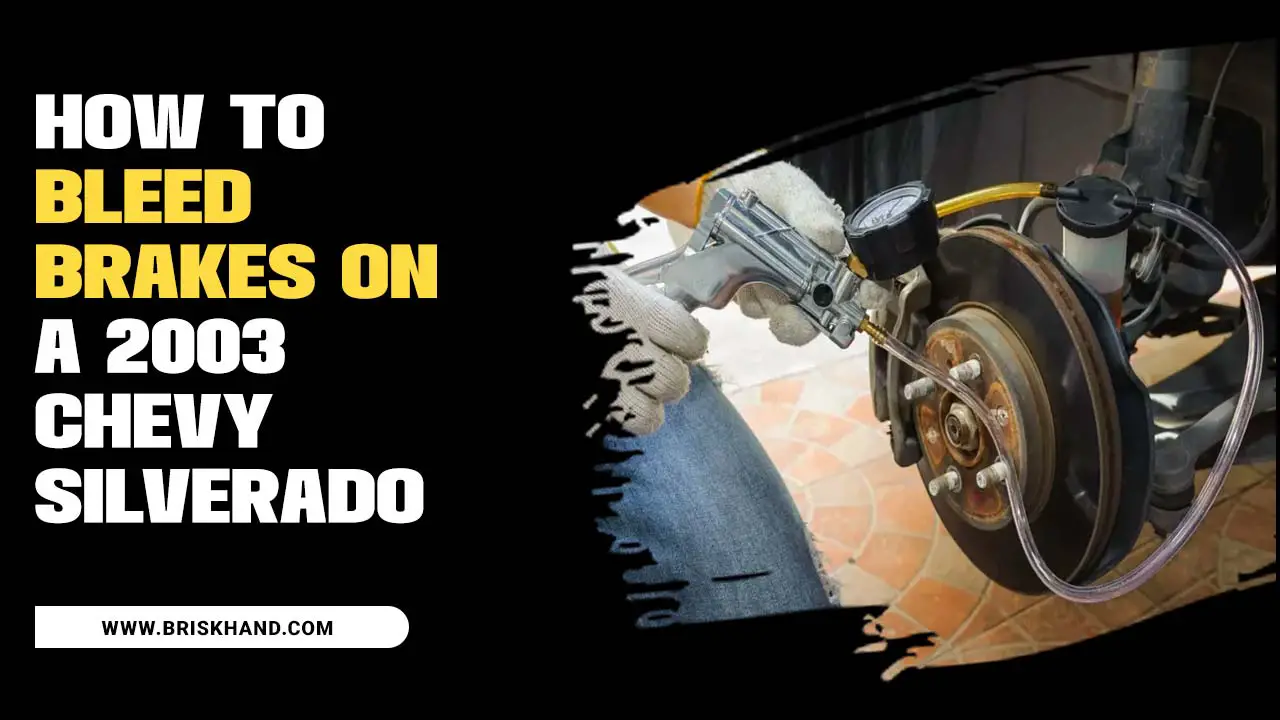
Why Do Car Brakes Need To Be Bleed?
Car brakes need to be bled periodically to ensure optimal performance and safety on the road. Cbleeding the brakes involves removing any air bubbles that may have entered the brake system and replacing old brake fluid with fresh fluid. This is crucial because air bubbles in the brake lines can compress, resulting in a spongy or ineffective brake pedal.
The presence of air in the system can also lead to reduced braking power, longer stopping distances, and potential brake failure. Bleeding the brakes is especially important after brake repairs, such as replacing brake pads or callipers, and when the brake fluid becomes contaminated or reaches its recommended service interval.
How To Bleed Brakes On A 2003 Chevy Silverado – Full Process
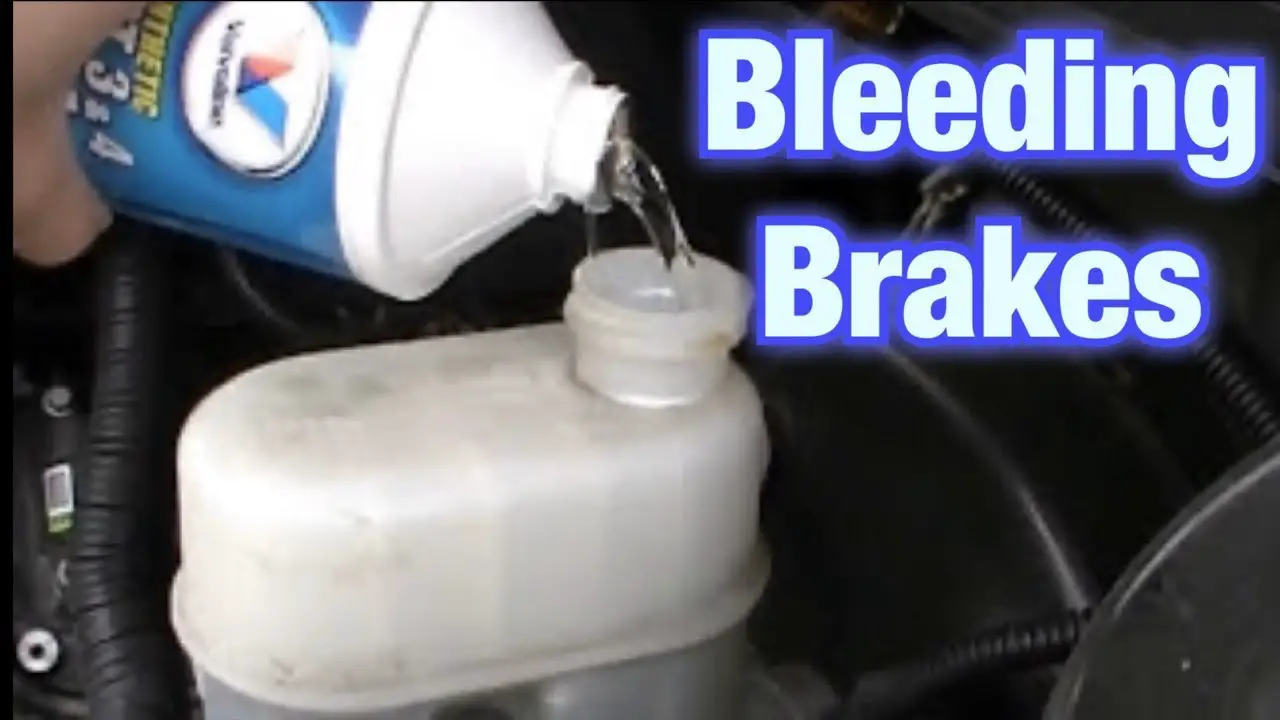
You may think that bleeding the car’s brakes by yourself means risking the car of your choice. Not at all. The task is very simple, and if you follow only four steps, you can easily eliminate this annoying problem with your car.
Bleeding the brakes on a 2003 Chevy Silverado is an important maintenance task that should be performed regularly to ensure optimal brake performance. Here are the steps to follow on how to bleed brakes on a 2003 chevy silverado. By following these steps, you can effectively bleed your brakes on your 2003 Chevy Silverado and ensure optimal braking performance.
Step 1: Gather The Necessary Tools And Materials
To successfully bleed the brakes on a 2003 Chevy Silverado, gathering the necessary tools and materials is important. First and foremost, a brake bleeder kit, a clear plastic tube, and a container to catch the old brake fluid are essential.
Additionally, a proper wrench or socket set is a must to loosen the bleeder screws on each brake calliper. It is also important to have a fresh supply of brake fluid that meets the manufacturer’s specifications for the Silverado. Here are the materials list:
- Brake fluid
- Brake bleeding kit (including a clear hose and a brake bleeder wrench)
- Jack and jack stands or a hydraulic lift
- A lug wrench or socket set
- Brake cleaner
- Shop towels or rags
- Safety glasses and gloves
- Container for old brake fluid disposal
- Chocks or wheel blocks for added safety
- Owner’s manual or repair guide for reference
Step 2: Locate The Brake Bleeder Screws
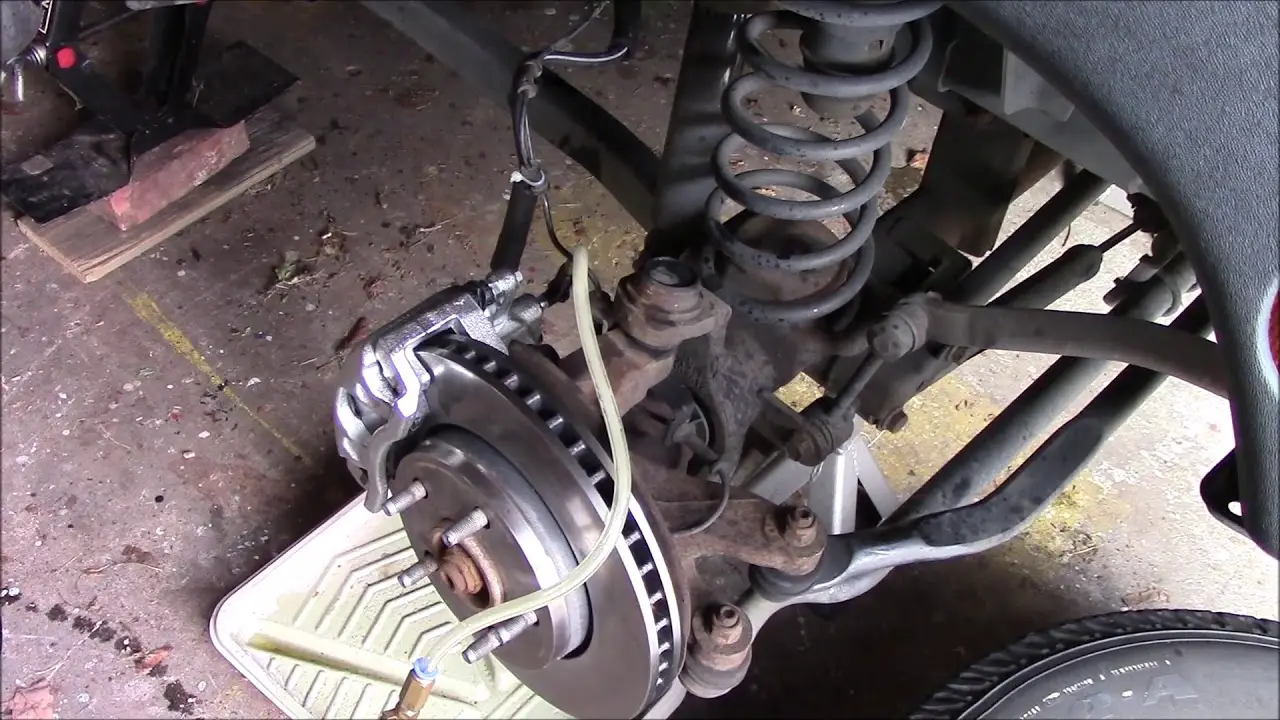
One crucial step in this process is locating the brake bleeder screws. These screws are usually located on each wheel’s brake calliper or drum brake assembly. To start, you’ll need a wrench or socket that fits the size of the bleeder screw. To bleed the brakes on your 2003 Chevy Silverado, begin by loosening the bleeder screw on the first wheel. This will allow any air trapped in the brake lines to escape.
Step 2: Open The Bleeder Screw

park the Silverado on a level surface and engage the parking brake. Locate the bleeder screw on each brake calliper, typically found towards the top. Ensure you have the necessary tools, such as a wrench or socket, to open the bleeder screw.
With the proper tools, take caution and wear protective gloves to prevent contact with brake fluid. Begin the bleeding process by attaching a clear plastic hose to the bleeder screw and placing the other end in a container to collect any expelled fluid.
Next, carefully open the bleeder screw using the appropriate tool. This will allow the brake fluid and any trapped air to flow out through the clear plastic hose. Keep an eye on the fluid level in the master cylinder reservoir and refill it as needed to prevent it from running dry.
Step 4: Prepare For Bleeding
To begin bleeding on your 2003 Chevy Silverado, park the vehicle on a level surface and engage the parking brake. Loosen the valve using the wrench and attach the brake bleeding kit, ensuring the other end is submerged in the container to collect the fluid. Before proceeding, it is essential to consult the vehicle’s manual or a reliable source for the correct bleeding sequence.
Step 5: Begin The Bleeding Process
Ensure the vehicle is securely lifted and the wheels properly choked before proceeding. Next, attach the clear plastic tubing to the bleeder screw and place the other end into the catch container. With the help of a brake bleeder wrench, slowly loosen the bleeder screw to release any trapped air or old brake fluid. This process should be done in conjunction with a second person who will be operating the brake pedal.
Instruct the second person to depress the brake pedal and hold it down slowly. As they do so, fluid will flow through the tubing into the catch container. Instruct the person to release the brake pedal once the flow becomes steady and free of air bubbles.
Step 6: Pump And Hold Method
Locate the bleeder valve on each wheel. You typically find these valves on the callipers or wheel cylinders. Loosen the valve slightly using the wrench, but be careful not to overtighten or damage it.
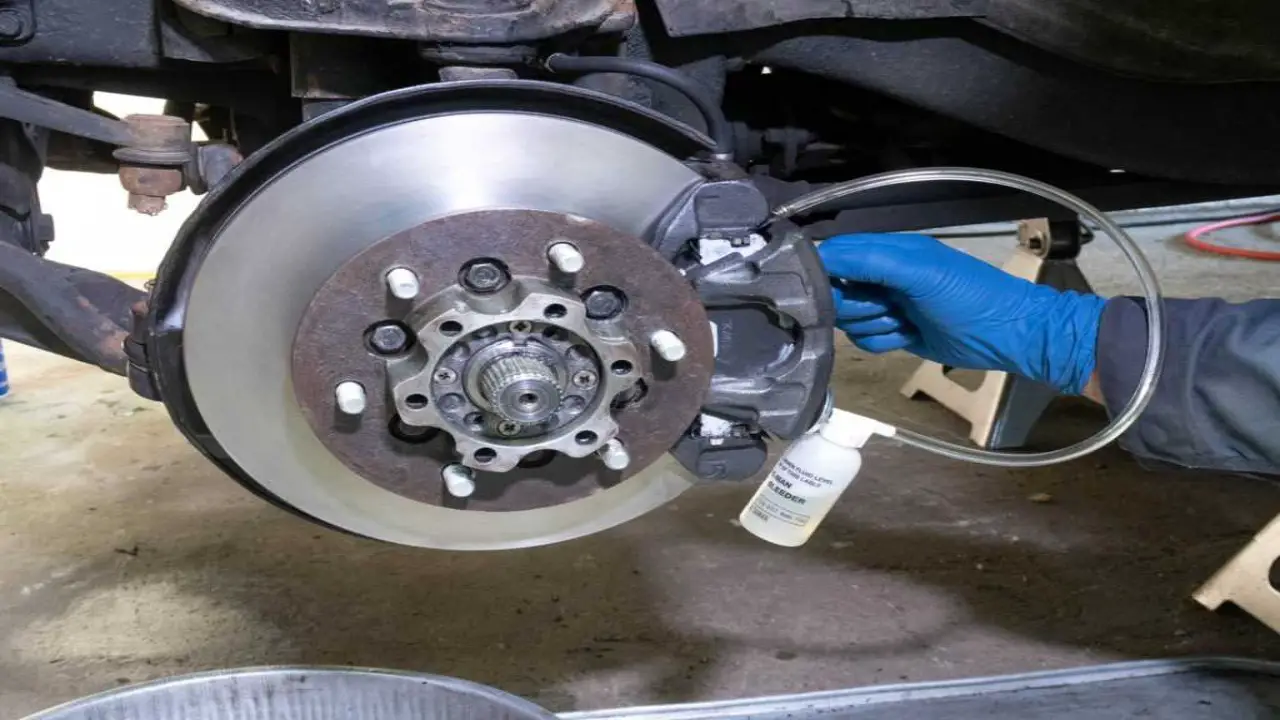
Next, attach the brake bleeding kit to the valve. The kit usually consists of a hose and a bottle with a one-way valve. Place the other end of the hose into the clean container to collect the old brake fluid.
Step 7: Repeat And Check Fluid Level
Locate the brake bleeder valve on each wheel. Starting from the furthest wheel from the master cylinder, typically the rear passenger side, attach the clear plastic tube to the bleeder valve and place the other end into the container. With the help of a partner, pump the brake pedal three to four times and then hold it down.
While the pedal is held down, open the bleeder valve using the wrench, allowing the old brake fluid and any air bubbles to be expelled through the tube and into the container. Repeat this process until all the air bubbles are eliminated, checking the fluid level in the master cylinder regularly and adding new brake fluid as needed.
Step 8: Move To The Next Wheel
It would be best to locate the brake bleeder valve on the wheel that needs to be bled. In this case, let’s start with the front left wheel. Place the catch container beneath the bleeder valve and securely attach the clear plastic tube to the valve. Next, have an assistant sit inside the vehicle and pump the brake pedal several times, creating pressure within the system.
With the pedal pressed down, carefully loosen the bleeder valve using a wrench. As the valve is opened, you will notice brake fluid mixed with air bubbles flowing through the tube and into the catch container. Allow the fluid to flow until no more air bubbles are visible, then promptly close the bleeder valve.
Troubleshooting Common Issues During Brake Bleeding
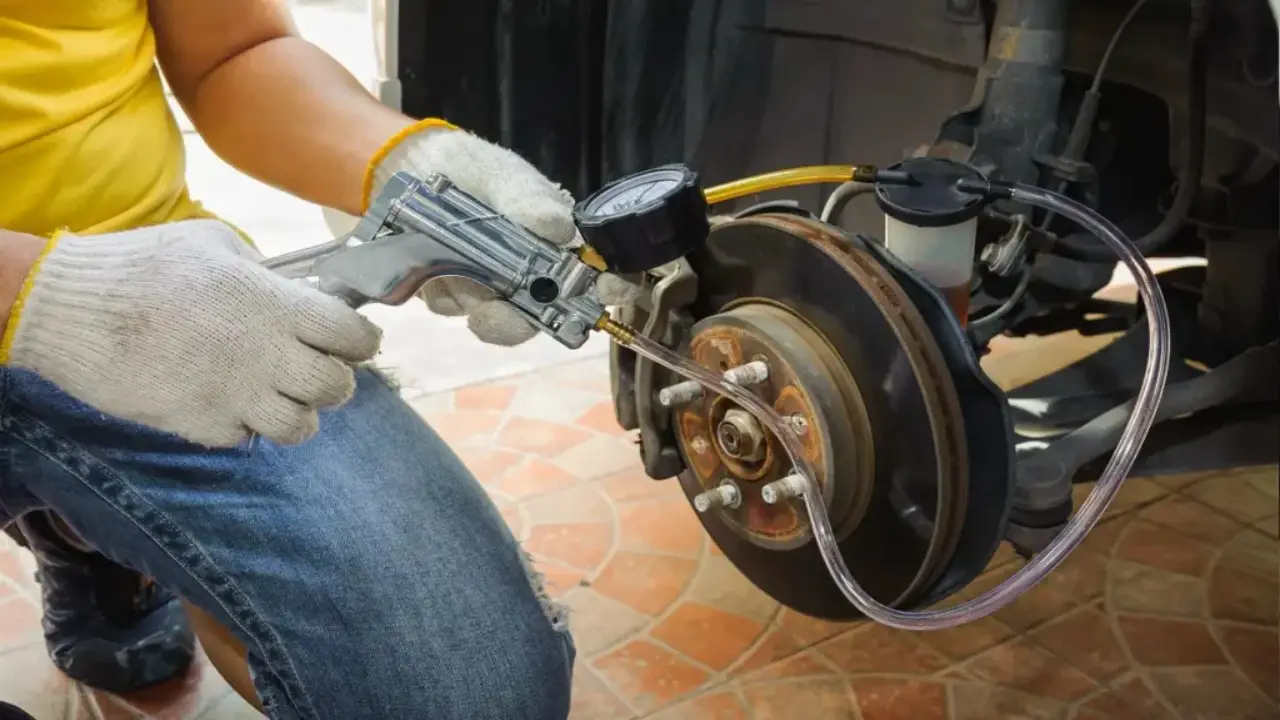
Knowing how to troubleshoot common issues during brake bleeding is of utmost importance in maintaining the safety and functionality of a vehicle’s braking system. Brake bleeding is a critical maintenance procedure that involves removing air bubbles from the brake lines to ensure proper brake fluid circulation and optimal braking performance. Here are common troubleshooting:
No Fluid Coming Out
- Check if the bleeder valves are fully open.
- Ensure that there is sufficient brake fluid in the master cylinder reservoir.
- Inspect the brake lines for any obstructions or kinks.
- Verify that you properly connect and function the brake bleeder tool.
Air Bubbles In The Brake Fluid
- Doublecheck that all bleeder valves are tightly closed before starting the bleeding process.
- Use the proper bleeding technique, such as starting from the wheel farthest from the master cylinder and working your way closer.
- Ensure the brake fluid reservoir always topped up during the bleeding procedure.
- Consider using a vacuum pump or pressure bleeder to remove bubbles effectively.
Soft Or Spongy Brake Pedal
- Confirm that all bleeder valves tighten securely to prevent air from entering the system.
- Rebleed the brakes, ensuring each wheel is properly bled, and all air is removed.
- Inspect the brake lines for any leaks, damage, or loose connections.
- Check the brake system for worn or damaged components, such as pads or calipers.
Uneven Brake Pressure
- Rebleed the brakes, paying close attention to each wheel to ensure equal pressure.
- Inspect the brake system for any clogged or restricted brake lines.
- Check the brake calipers and pads for any uneven wear or damage
Safety Precautions To Take While Working With Brake Fluid
When working with brake fluid, it is essential to be well-informed about the safety precautions that need to be taken. Brake fluid is a vital component for the functioning of a vehicle’s braking system, but it can also pose potential hazards if not handled correctly. Knowing the proper safety measures ensures not only the protection of oneself but also the prevention of accidents and damage to the vehicle.
- Always wear protective gloves and safety goggles to prevent skin and eye irritation.
- Work in a wellventilated area to avoid inhaling fumes.
- Keep a fire extinguisher nearby, as brake fluid is highly flammable.
- Avoid smoking or open flames in the vicinity of brake fluid.
- Use a clean and dry cloth to wipe up spills immediately, as brake fluid can damage painted surfaces.
- Do not reuse or mix brake fluid from different containers, as this can affect its performance.
- Store brake fluid in a sealed container in a cool, dry place away from direct sunlight.
- Follow the manufacturer’s guidelines when handling and disposing of brake fluid.
- Be cautious when working with brake fluid near hot surfaces, as it can vaporize and cause burns.
- Take breaks and wash your hands thoroughly after working with brake fluid.
Conclusion
Learning how to properly bleed the brakes on a 2003 Chevy Silverado is an important skill for any vehicle owner. Your 2003 Chevy Silverado may be heavy, but it’s not that hard to bleed the brakes. Not only does it ensure the safety and functionality of your brakes, but it can also save you time and money in the long run.
By following the steps on how to bleed brakes on a 2003 chevy silverado and taking the time to bleed your brakes thoroughly, you can keep your Chevy Silverado running smoothly and efficiently. Remember, if you are not comfortable performing this task yourself, it is always best to consult a professional mechanic.
FAQs
What Is The Easiest Way To Bleed Brakes?
The easiest way to bleed brakes is by using a brake bleeder tool, such as a vacuum pump or a pressure bleeder kit. Following the manufacturer’s instructions and taking necessary safety precautions when using these tools is important.
How Do You Know If You Have Air In Your Brake Lines?
One way to know if you have air in your brake lines is if you experience a spongy or soft brake pedal when applying pressure.
Can I Manually Bleed The ABS Module?
No, you cannot manually bleed an ABS module. ABS modules are complex hydraulic systems that require specialized tools and procedures to bleed properly.
Which Scan Tool Can Bleed ABS?
Several tools available in the market need ABS, such as the Autel MaxiCOM MK808, Launch X431 V+, and the Foxwell NT630 Elite.
What Is The Most Effective Brake Bleeding Method?
The most effective brake bleeding method is typically the traditional method of using a brake bleeding kit with a helper.

I am passionate about tools and electric work. I love finding new tools and experimenting with them.

