Shiplap is a popular design trend that has taken the world of interior design by storm. This classic design style is characterized by narrow wooden boards that are installed horizontally on a wall, creating a timeless look that adds charm and warmth to any room.
While shiplap boards are readily available at most home improvement stores, making your own shiplap boards can be an enjoyable and cost-effective DIY project. With the right tools and techniques, you can create customized shiplap boards that perfectly match the style of your home.
Here we’ll explain what shiplap is, provide 5 easy tips on how to make shiplap boards with a table saw, and go over why using a table saw is the best way to go about making shiplap boards. So start planning your next woodworking project and try shiplap boarding – you won’t be disappointed.
What Is Shiplap?
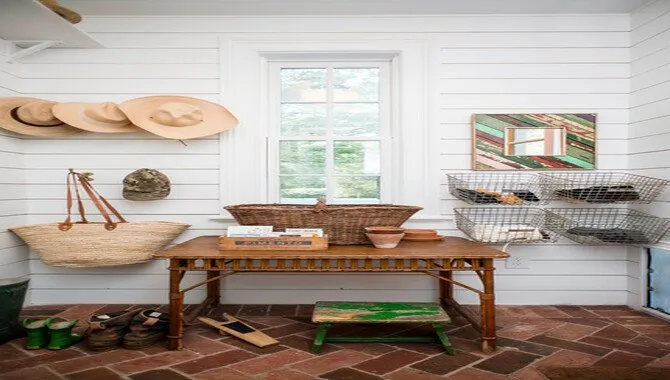
If you’re unfamiliar with the term, shiplap is a wooden board commonly used for interior wall paneling. It gets its name from how the boards are joined together, with each board having a groove cut into one edge and a corresponding “lip” cut into the opposite edge. This allows each board to fit snugly against the next one, creating a tight seal that helps to keep out drafts and moisture.
Shiplap has become increasingly popular in recent years, thanks partly to its rustic charm and versatility. Whether you’re looking to create a cozy cabin feel or add texture and visual interest to a modern space, shiplap can be an excellent choice for your interior design needs.
And with the right tools and techniques, making your shiplap boards using just a table saw is easier than you might think. Shiplap is a type of woodworking that uses a table saw to create smooth, textured surfaces. You can use it for furniture, cabinetry, or doors – it’s versatile and looks amazing in any space. Cut the lumber to the desired size and shape and use a crosscut sled to ensure accurate cuts.
Tools And Materials Needed For Making Shiplap Boards With A Table Saw
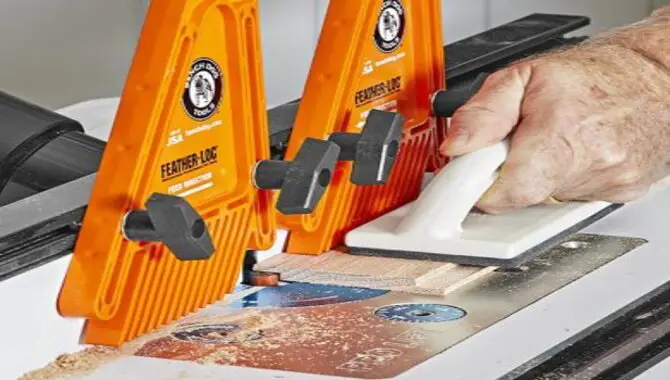
Making shiplap boards with a table saw requires a few essential tools and materials. Here are the items you will need to get started:
- Table saw: A table saw is the primary tool for cutting the shiplap boards. Ensure you have a reliable table saw that is properly set up and in good working condition.
- Wood: Choose a high-quality wood that is suitable for your project, such as pine or cedar. The wood should be free from defects and properly prepared for cutting.
- Measuring tape and pencil: Accurate measurements are crucial when cutting shiplap boards. Use a measuring tape to measure the desired length and width of each board, and mark the measurements with a pencil.
- Safety gear: Always prioritize safety when using power tools. Wear safety glasses, ear protection, and gloves to protect yourself from any potential hazards.
- Clamps: Clamps can be helpful for securing the wood in place while you make precise cuts on the table saw.
- Push stick: A push stick allows you to safely guide the wood through the table saw without putting your hands near the blade.
Having these tools and materials ready will ensure that you can create shiplap boards with precision and ease using a table saw.
5 Easy Tips on How To Make Shiplap Boards With A Table Saw
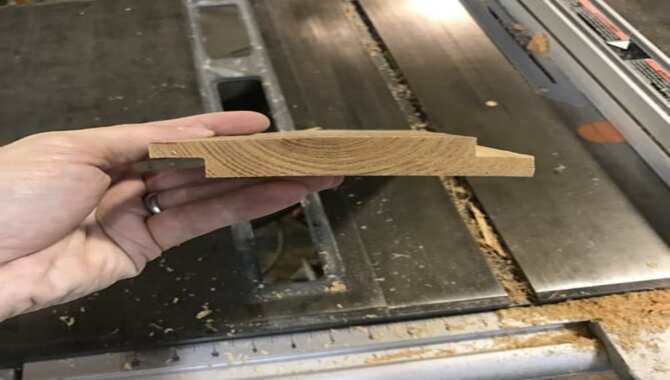
Shiplap boards are wood strips nailed or glued together in various patterns. They come in many different sizes and styles; you can use them as walls, ceilings, furniture, or even ornaments. They have a rustic look that suits almost any décor and is also very durable – meaning you can easily keep them clean.
Shiplap Boards are a popular addition to any home and can make with a table saw in just a few easy steps. Here are 5 Easy Tips to Make a Shiplap Board with a Table Saw. Here are 5 Easy Tips on How To Make Shiplap Boards With A Table Saw.
1.Choose The Right Wood
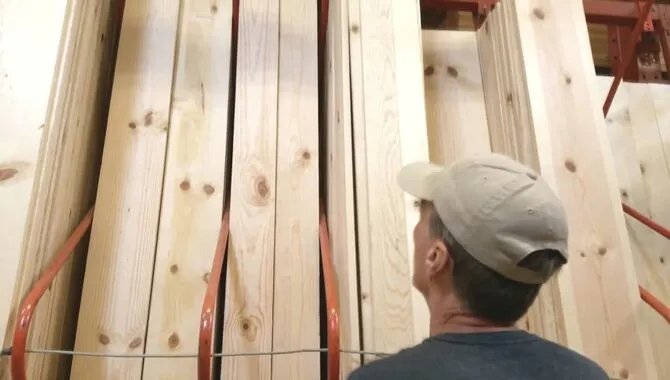
If you’re considering adding a shiplap board to your home décor, you must choose the right wood. Many types of wood you can use for shiplap boards, but the best ones are typically hardwoods with a tight grain. This means the wood will resist warping and splitting, which is essential for a sturdy and long-lasting board.
You’ll also want to ensure that your chosen wood suits your climate and environment. For example, red oak is a good choice in warm climates because it’s resistant to rot and insects. However, it’s not as durable in cold climates, so you may consider using something like cedar instead.
Once you’ve chosen the right type of wood and chosen a color or design that you like, it’s time to start cutting it into shape. You can do this with a saw or a router – whichever works better for your project. Be sure to use quality tools and care when cutting the boards so they don’t look crooked or uneven.
2.Cut The Lumber To Size

You’ll need to cut the lumber to size to make shiplap boards. First, measure the width and height of the board you want to make, and then find the right-sized lumber. You’ll also need to decide how wide your strips will be. This will determine how many narrow pieces you’ll need to cut from the lumber.
You can also use a miter or hand saw to make your cuts. Be careful when making these, as slight mistakes could mean that your board’s trim pieces must be properly shaped or wouldn’t fit well together once finished.
3.Use A Crosscut Sled
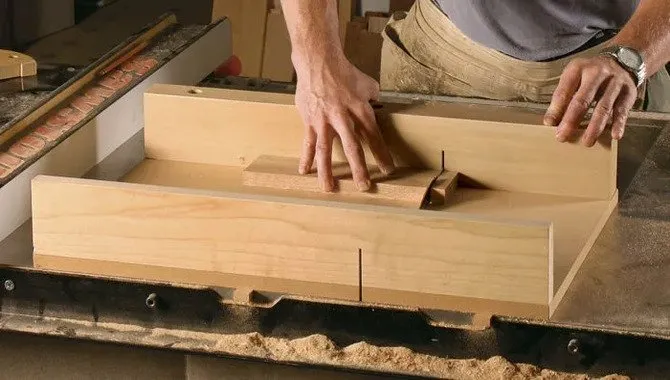
Cut shiplap boards accurately with a table saw can be tricky, and the results can often be disappointing. That’s why you should use a crosscut sled instead. A crosscut sled is a nail holes special piece of equipment that helps you make accurate cuts in your lumber. It has two miter slots at the top to make precise angled cuts.
This makes creating straight and even shiplap boards with your table saw trim board much easier. Clamp the bottom of the sled to your workbench, adjust the miter slots to your desired angle, and start cutting. You won’t regret using a crosscut sled to cut shiplap boards accurately – it’ll make your job much easier and more satisfying.
4.Keep Your Design In Mind
When working with shiplap boards, keeping your design in mind is important. Shiplap boards are typically made by cutting narrow strips out of wood. This can do using a table saw, but there are a few things that you need to keep in nail gun mind if you want to make the most of your board. For example, you’ll need to ensure that your cuts are accurate and consistent.
The shiplap boards will line up properly and look smooth if your cuts are accurate. You also need to pay attention to the grain direction – the direction in which the wood fibers run parallel. If you make your cuts incorrectly, you will force the grain direction into an undesirable shape.
5.Trimming Excess Material
To make a shiplap board, you must cut the panels to the correct size. The key is trimming excess material off each panel so they fit snugly together. To do this, make a guideline on one edge of the panel. Then, a jigsaw or coping saw can slice the excess material along the guideline. Hold the panel steadily while cutting so it doesn’t wobble.
Once all excess material has been removed, it’s time to assemble the board. Start by placing one panel near your table saw’s edge and aligning it with your guideline. Make sure that the edge of the panel is flush with your blade guard (if applicable), and then gently push it into place.
Next, use a straightedge and sawblade to shove any extra wood around the panel’s edges. Finally, screw or nail each panel into place using pre-drilled screws or nails.
Finishing Options For Shiplap Boards
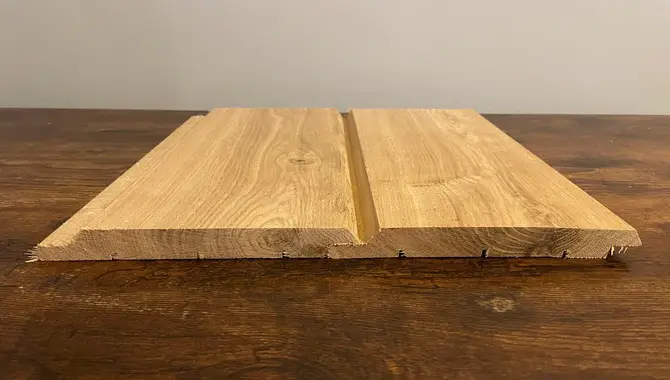
Regarding finishing options for shiplap boards, there are several choices to consider. One popular option is to paint the boards in a color that complements your overall design scheme. This can create a clean and modern look, especially when paired with neutral or contrasting colors.
Another option is to stain the shiplap boards, which can highlight the natural beauty of the wood grain and add warmth to your space. If you prefer a more rustic or weathered look, you can also distress the boards by sanding or scraping them before applying a finish.
This can give your shiplap walls an aged and textured appearance. Ultimately, the choice of finish will depend on your personal style and the desired aesthetic for your space.
How To Keep Your Shiplap Boards Looking Great
You can do a few things to keep your shiplap boards looking great. The first thing you must do is take care of the wood. Ensure you use high-quality, straight-grained wood for your boards, and avoid splinters or knots. You should also keep the wood dry – if it’s wet when cutting the boards, it will make them difficult to work with.
Next, using good clamps and a saw guide is important when cutting the boards. Use clamps at both ends of the board so it stays flat and doesn’t bow in the middle. This will ensure that your shiplap boards look perfect all the way around. Lastly, sand them down once they finish using fine-grit sandpaper. This will remove any rough edges and protect them from future damage.
Why Use A Table Saw For Making Shiplap Boards?
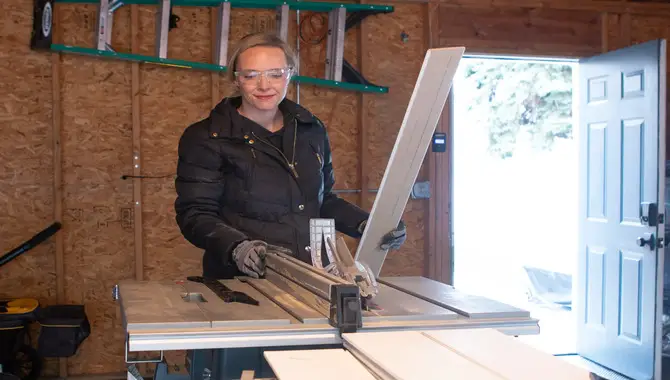
Shiplap boards are a popular style of woodworking that uses sawing and drying to create a textured finish. They can make from any timber, but boards made from soft woods like cedar or pine are most commonly used. You’ll need the tools and instructions to make shiplap boards with a table saw.
First, cut the board into desired dimensions using your table saw’s rip fence setting. Then, use the miter gauge to create the angle on each side of the board where it will meet the blade of your table saw. Make sure to use Timber Wolf Table Saw Guides to help guide the blade and create accurate cuts.
Conclusion
Shiplap table saws are a great option if you’re looking for a small, cheap table saw that can still handle a lot of tough cuts. Several features make them versatile, such as miter gauges and rip fences. Another thing to Note about shiplap table saws is that they typically have low-profile castings, which means they’re lightweight and easy to move around.
This makes them perfect for a workshop or home use. If you’re looking for a quick and easy way to add a touch of rustic charm to your home, then shiplap boards are the perfect solution. By following these 5 easy tips on how to make shiplap boards with a table saw, you’ll be able to create a beautiful shiplap.
Frequently Asked Questions:
1.Can You Make Shiplap With Table Saw?
Ans: It is possible to make shiplap boards with a table saw. To make shiplap boards, you will need first to cut the boards into thin strips of wood. You can do this with a table saw or using a handsaw if you have a lot of lumber to cut.
2.How Do You Cut Boards Into Shiplap?
Ans: To make shiplap boards, you need to set your table saw blade height to the thickness of the board. Cut at the end of the board, turn it over, and cut from the opposite end. This will create a tongue on one side and a groove on the other side of the board. Repeat this process for each board until you have enough for your project.
3.What Saw To Use To Cut Shiplap?
Ans: To cut the shiplap, you should use a table saw. A high-quality blade with fine teeth and a high tooth count makes precise cuts. To make precision cuts, you can set the blade depth to no more than 1/4 inch.
4.Can I Make My Shiplap?
Ans: You can make your shiplap boards with a table saw. The is to purchase the lumber needed for your project. You can buy lumber in either square or tongue-and-groove widths, and you can also choose to buy thicknesses that vary from 2x4s to 5/4x3s. Use a table saw to cut the boards into planks of uniform width and thickness.
5.What Are The Best Ways To Make Shiplap Boards?
Ans: There are various ways to make shiplap boards with a table saw. You can cut the lumber into thin strips, set the blade height, and make precise cuts. You can also buy pre-cut shiplap lumber from a wood store or use two hands to create the perfect board. Boards in no time. Our comprehensive guide will walk you through each step, so you can easily make beautiful shiplap boards.

I am passionate about tools and electric work. I love finding new tools and experimenting with them.

