Installing a garage door keypad can be a convenient and secure addition to your home. The first step in How to install garage door keypad is to choose a location for the keypad that is easily accessible.
Make sure that the keypad is mounted at least five feet above the ground and at a height that is comfortable for you to use. Next, locate the wires connected to the garage door opener and connect them to the keypad. Once the wiring is complete, mount the keypad onto the wall with screws.
Ensure the keypad is securely attached to the wall and the screws are tight. Test the keypad to ensure that it is functioning properly. You can open and close your garage door once you fully install and test the keypad.
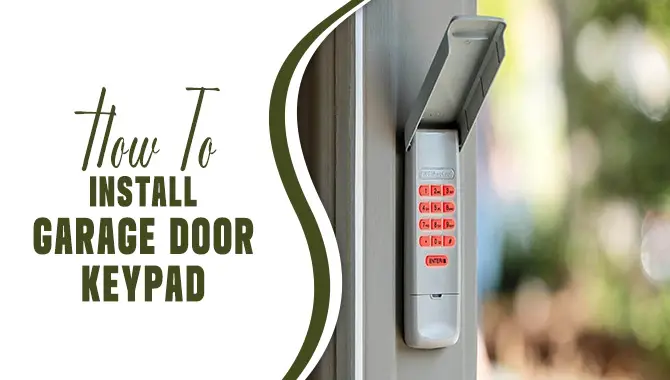
Introduction To Garage Door Keypads
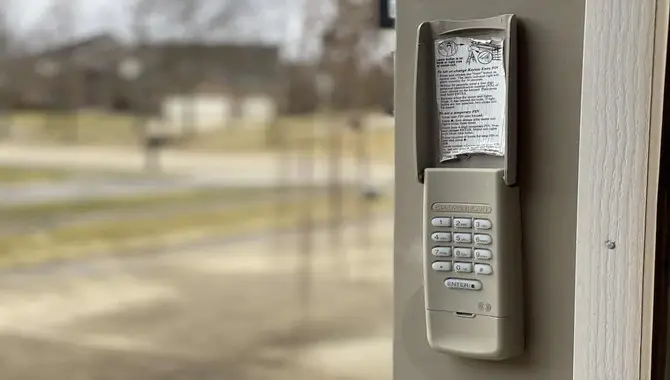
Home security is an essential aspect of modern living, and one of the crucial components of a secure home is a garage door keypad. Garage door keypads are popular among homeowners because they provide protection to their property, making it more difficult for burglars to access their homes. These keypads are electronic devices that allow users to open and close their garage doors using a code they have set.
They are convenient, easy to install and use, and are a cost-effective alternative to traditional garage door openers. Garage door keypads come in various models and styles, each with unique features and benefits. Some keypads have backlit displays for easy use at night, while others have multiple user codes to allow access to family members or workers.
Tools Needed For Installation
- Screwdriver: A Phillips or flathead screwdriver, depending on the type of screws used in your keypad installation.
- Drill: If your garage door keypad requires additional holes for mounting, you may need a drill with the appropriate drill bit.
- Tape measure: To ensure accurate placement and alignment of the keypad.
- Pencil or marker: To mark the positions for screw holes or drill points.
- Level: To ensure that the keypad is installed straight and level.
- Batteries: Check the keypad’s instructions to determine the type and number of batteries required for operation.
- Mounting hardware: This can vary depending on the specific keypad model but typically includes screws or bolts for attaching the keypad to the wall or door frame.
A Step-By-Step Guide On How To Install Garage Door Keypad
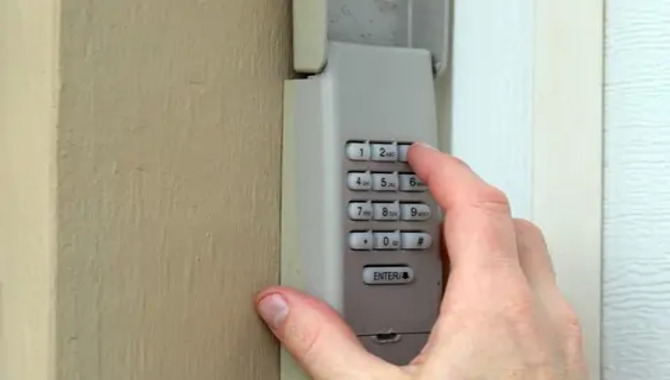
It’s important to note that the exact tools required may vary depending on the specific keypad model and the installation instructions provided by the manufacturer. Always refer to the instructions included with your particular keypad for the most accurate and up-to-date information on the tools needed for installation. Here is a step-by-step guide on How to install a garage door keypad.
1. Choose The Location
When choosing a location to install your garage door keypad, consider accessibility and convenience. Select a spot near the garage door entrance, allowing easy access for you and your family. The keypad should be within the wireless range of the garage door opener, ensuring reliable communication.
Additionally, ensure the chosen location is protected from direct exposure to harsh weather conditions, such as rain or direct sunlight. This helps prolong the keypad’s lifespan. Take note of any specific instructions provided by the manufacturer regarding recommended mounting heights or distances from potential interference sources. Proper placement of the garage door keypad enhances convenience and ensures smooth operation.
2. Prepare The Keypad
To prepare the garage door keypad for installation, check the manufacturer’s instructions for any specific requirements. If the keypad requires batteries, insert them as instructed. Ensure the keypad is ready for mounting by confirming that all components are securely attached, and any protective film or covers have been removed.
Choose a suitable location for the keypad near the garage door entrance, within the opener’s wireless signal range. Use a tape measure to ensure accurate placement and alignment. Once the keypad is prepared, mark the mounting holes on the surface using a pencil or marker, following the instructions.
3. Mark The Mounting Holes
Mark the mounting holes for installing a garage door keypad. Follow these steps. First, hold the keypad against the desired location on the wall or door frame. Use a pencil or marker to mark the positions of the mounting holes on the surface. Ensure the keypad is level and aligned properly.
If the keypad requires additional holes for mounting, mark those positions as well. Take accurate measurements and ensure the markings are clear and visible. Double-check the markings before proceeding to the next step. Once the holes are marked, you can drill pilot holes (if needed) and attach the keypad securely using the provided screws or bolts.
4. Drill Pilot Holes
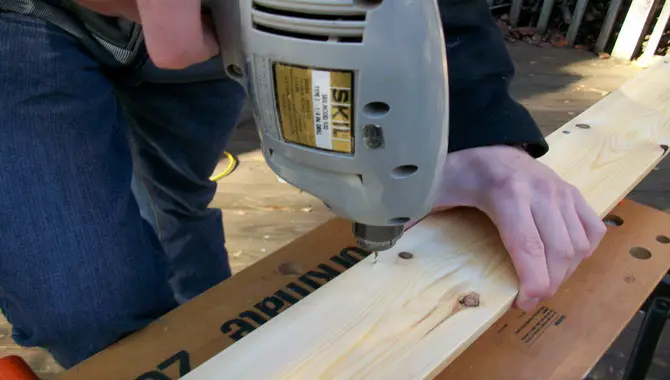
When installing a garage door keypad, it is important to ensure a secure and sturdy attachment. To achieve this, it is recommended to drill pilot holes before installing the keypad. Pilot holes guide screws or bolts, preventing the surface from splitting or cracking during installation.
Begin by marking the positions for the mounting holes on the wall or door frame. Then, carefully create pilot holes at the marked positions using an appropriately sized drill bit. This step ensures easier and more precise installation of the keypad. Remember to choose a drill bit that matches the size of the mounting hardware provided with the keypad.
5. Attach The Keypad
Attach the garage door keypad, and follow these steps. First, hold the keypad against the desired location on the wall or door frame. Use a pencil or marker to mark the positions of the mounting holes. If necessary, drill pilot holes at the marked positions using a drill and the appropriate drill bit.
Align the mounting holes on the keypad with the pilot holes or marked positions, and insert screws or bolts (provided with the keypad) through the holes. Tighten them securely using a screwdriver. Ensure that you firmly attach the keypad. Test the keypad by entering a code (if required) and pressing the buttons to confirm proper functioning.
6. Test The Keypad
These steps are to test the newly installed garage door keypad. Enter a code on the keypad and press the “Enter” or “OK” button. Observe if the garage door responds by opening or closing. If it does, the keypad is functioning correctly. If not, double-check the battery installation, ensuring they are correctly inserted.
Ensure that the keypad is securely mounted and that the wiring is intact. Check the programming instructions provided by the manufacturer to ensure the code was entered correctly. If the keypad still doesn’t work, consult the manufacturer’s troubleshooting guide or contact customer support for assistance.
7. Program The Keypad
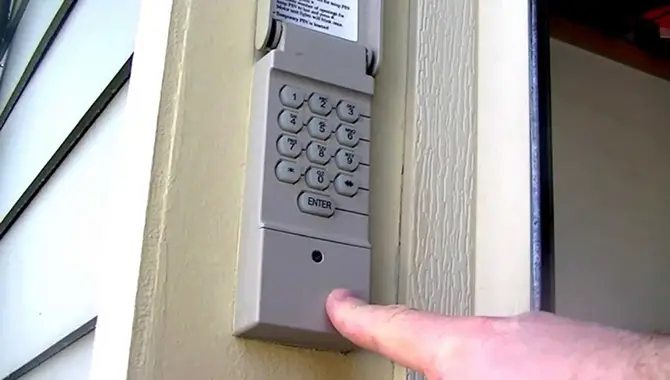
Follow these steps to program a garage door keypad. First, locate the programming button on your garage door opener. Press and release this button to put the opener into programming mode. Next, enter a PIN code of your choice on the keypad and press the “Enter” or “Learn” button.
The opener’s indicator light should flash, indicating successful programming. Test the keypad by entering the PIN code and verifying that the garage door responds accordingly. If the programming process fails, consult the keypad’s instructions for troubleshooting tips. Remember to keep your PIN code secure and avoid sharing it with unauthorized individuals.
8. Test The Keypad With The Garage Door Opener
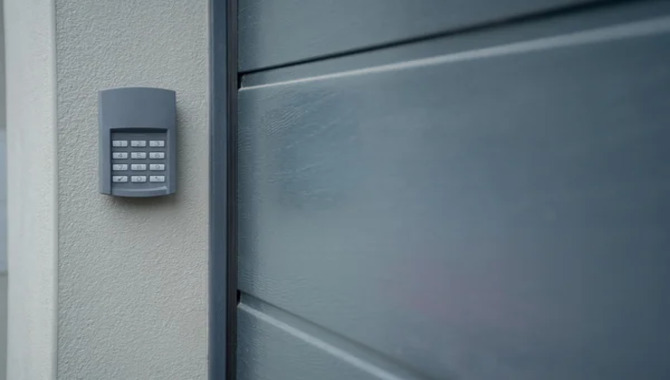
Follow these steps to test the door keypad with the opener. Enter the programmed code on the keypad and press the appropriate button to open or close the garage door. Observe if the door responds accordingly. If it functions correctly, the installation is successful.
However, double-check the code and reprogram if necessary if the door does not operate as expected. Ensure the keypad is within the range of the opener’s wireless signal. If issues persist, consult the keypad’s manual for troubleshooting tips or contact the manufacturer for further assistance.
Benefits Of Using A Garage Door Keypad
The benefits of using a garage door keypad are numerous. One of the most significant advantages is its convenience and ease of use. This eliminates the need to carry a bulky remote or worry about lost or stolen keys. Another benefit is the increased security that a keypad provides.
With a personalized code, homeowners can ensure that only authorized individuals can access their garages. Additionally, a keypad can be more cost-effective than traditional methods since it eliminates the need to purchase and replace lost or broken remotes or keys. Keypads are also durable and can withstand harsh weather conditions, making them a reliable option for homeowners.
Maintaining And Replacing A Garage Door Keypad
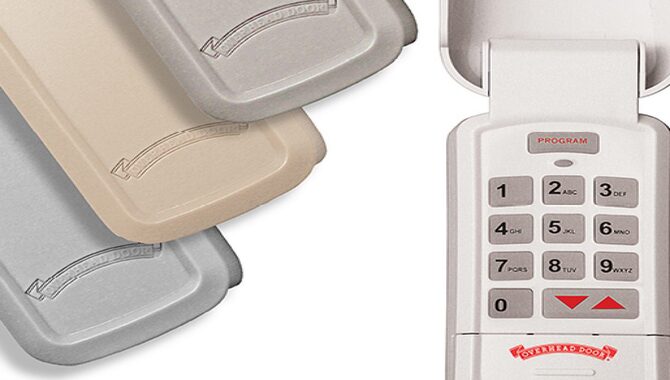
Maintaining and replacing a garage door keypad is an essential task every homeowner should undertake. A garage door keypad provides an easy and convenient way of accessing your home without needing a key. Cleaning the keypad regularly is essential to remove any dirt or grime accumulating on the surface.
A mixture of water and a mild soap is ideal for cleaning the keypad. It’s also essential to replace the batteries periodically to prevent any issues from failure. You should immediately replace your garage door keypad if it is damaged or malfunctioning. This will ensure that you maintain the security of your home and provide easy access to your garage.
Safety Precautions To Consider
For safety precautions, there are several important factors to consider. First and foremost, assessing the risks associated with any activity or situation is crucial. Once you have identified potential hazards, taking steps to mitigate them is essential. This might involve wearing protective gear, using safety equipment, or implementing best practices for a particular task.
Another critical consideration is training and education. Ensuring that everyone involved in a given activity or project is properly trained and informed can go a long way toward preventing accidents and injuries. Additionally, it is important to maintain a safe and secure environment. Ultimately, taking safety precautions is not just about protecting individuals from harm but also about fostering a culture of responsibility and care.
Conclusion
Installing a garage door keypad can be easy and straightforward if you follow the proper guidelines and instructions. In the above guideline, we have revealed How to install a garage keypad. It is important to ensure you have all the necessary tools and materials before you begin the installation process.
Following the steps outlined in this guide, you can successfully install a garage door keypad and enjoy its convenience and added security. However, if you encounter any difficulties or have any questions, it is always recommended to consult with a professional to ensure the proper installation and functionality of your garage door keypad.
FAQ
Where Should I Install My Garage Door Keypad?
Choose a location near the garage door entrance within the opener’s wireless signal range.
How Do I Mount The Keypad To The Wall Or Door Frame?
Use the provided screws or bolts to attach the keypad securely according to the manufacturer’s instructions.
Do I Need Batteries For The Keypad?
Some keypads require batteries for operation. Check the instructions to determine the battery type and quantity needed.
What Should I Do If The Keypad Doesn’t Respond Or Operate The Garage Door?
Double-check the programming steps and ensure the keypad is within the range of the garage door opener. Replace batteries if necessary.
Is It Possible To Uninstall And Relocate The Garage Door Keypad?
The keypad can usually be uninstalled and relocated if needed. Follow the reverse steps of the installation process to remove and reinstall it elsewhere.

I am passionate about tools and electric work. I love finding new tools and experimenting with them.

