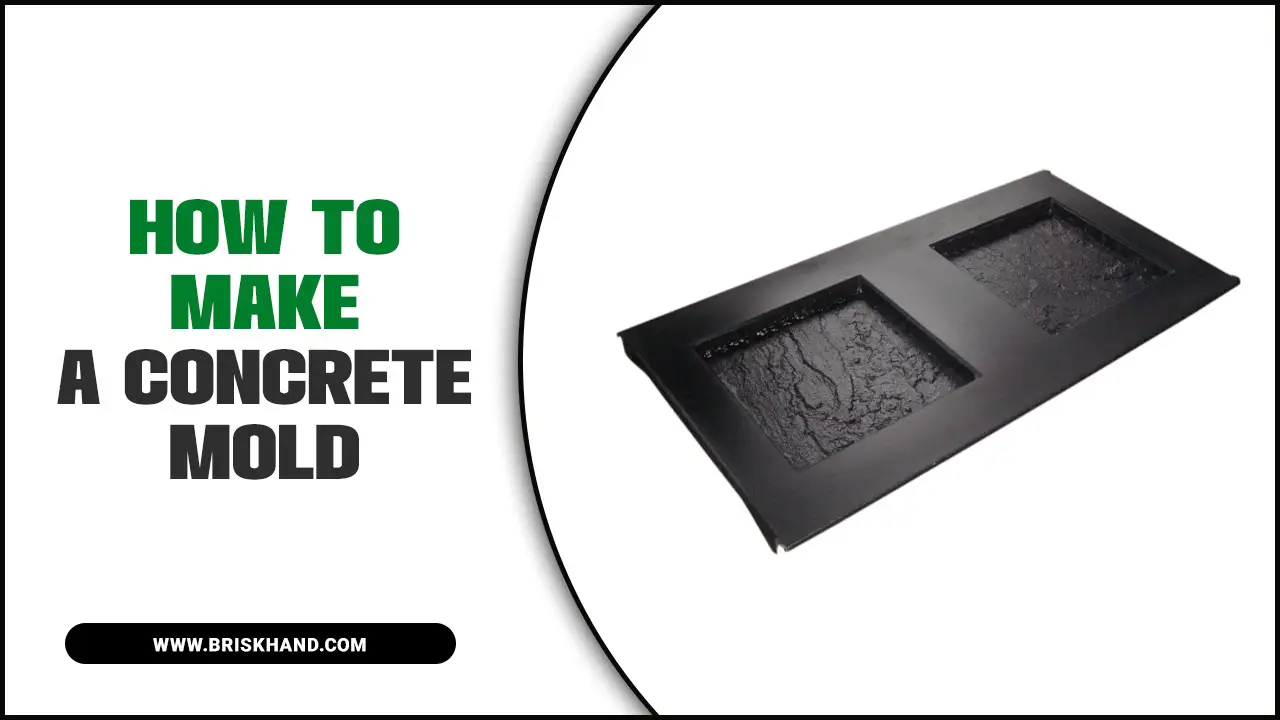
Creating custom concrete molds can be a fun and rewarding DIY project for any homeowner or craft enthusiast. Whether you’re looking to make decorative planters, stepping stones, or even furniture, having the right mold can be the key to achieving a professional-looking finished product.
But if you’re new to concrete mold making, the process can be intimidating. Fortunately, making a concrete mold can be easy and enjoyable with the right tools and a little know-how.
Here, we will discuss the importance of concrete molds and how to make a concrete mold with step-by-step instructions. We will also cover common mistakes people make while creating a mold and provide tips on avoiding them. By following our tips and tricks for a perfect mold, you can create stunning pieces that impress anyone who sees them!

Importance Of Concrete Molds
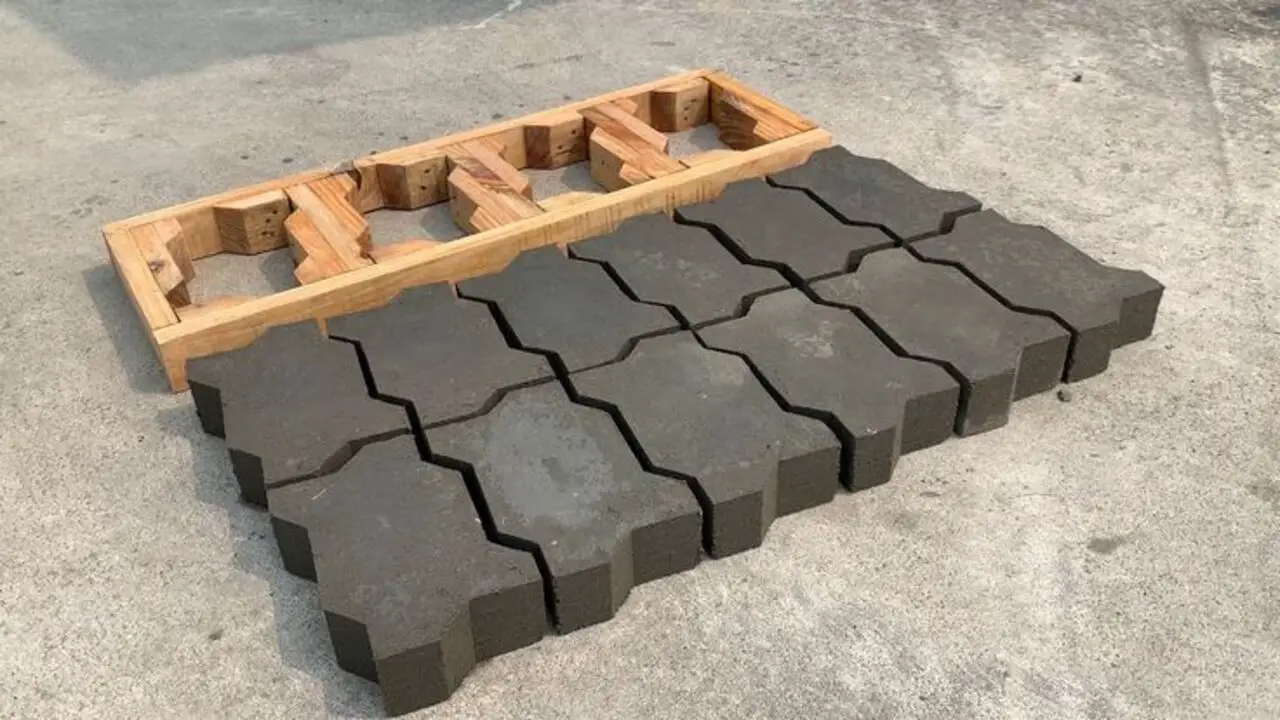
Concrete molds are essential for any DIY enthusiast or professional contractor working with concrete. They allow you to create custom shapes and designs, giving you the freedom to bring your creative vision to life. Concrete molds are particularly important when creating consistent and uniform concrete products, such as pavers, stepping stones, or decorative elements.
Using a mold ensures that each piece is the same size and shape, resulting in a professional-looking finished product. Whether you want to make a small decorative item for your garden or undertake a larger construction project, investing in high-quality concrete molds is key to achieving the desired outcome.
Materials Required For Creating A Concrete Mold
A concrete mold requires a few key materials to ensure a successful project. Here are the main materials you will need. Gathering these materials before starting your project ensures you have everything you need to create a successful concrete mold.
- Concrete mix: Choose a high-quality concrete mix suitable for your specific project, whether for small crafts or larger construction projects.
- Mold release agent: This is crucial to prevent the concrete from sticking to the mold. Various types of mold release agents are available, such as petroleum jelly or silicone spray.
- Mold frame or container: Depending on the size and shape of your desired mold, you will need a frame or container to hold the concrete as it sets. This can be made from wood, plastic, or other suitable materials.
- Reinforcement materials (if needed): Depending on the size and purpose of your concrete mold, you may need additional reinforcement materials such as wire mesh or rebar to add strength and stability.
- Mixing tools: To properly mix the concrete, you will need tools such as a mixing bucket, trowel, and a drill with a mixing paddle attachment.
- Protective gear: Always prioritize safety when working with concrete. Wear protective gear such as gloves, goggles, and a dust mask to protect yourself from potential hazards.
How To Make A Concrete Mold? Easy Steps

To create a concrete mold, apply a mold release agent to ensure easy removal. Next, pour the concrete mixture into the mold, ensuring even coverage. Once poured, remove any excess concrete and smooth the surface for a professional finish.
To protect the mold from moisture and damage, it’s important to seal it properly. It’s always a good idea to follow a tutorial or guide for detailed instructions. With these steps, you can easily create your mold for concrete casting and enjoy the satisfaction of a successful project. Below, we provide a step-by-step guide on how to make a concrete mold.
Preparing The Mold
To ensure a successful concrete casting, it is important to properly prepare the mold. Begin by applying a mold release agent to prevent sticking and ensure easy removal of the final product. Next, mix the concrete according to the recommended ratio, ensuring a consistent and workable mixture. Additionally, consider the mold’s thickness, ensuring it is suitable for your desired project.
Use high-quality mold-making materials such as silicone or polyurethane to create durable, detailed molds. You can also incorporate foam or other materials to create undercuts and intricate details for added intricacy.
Pouring The Concrete

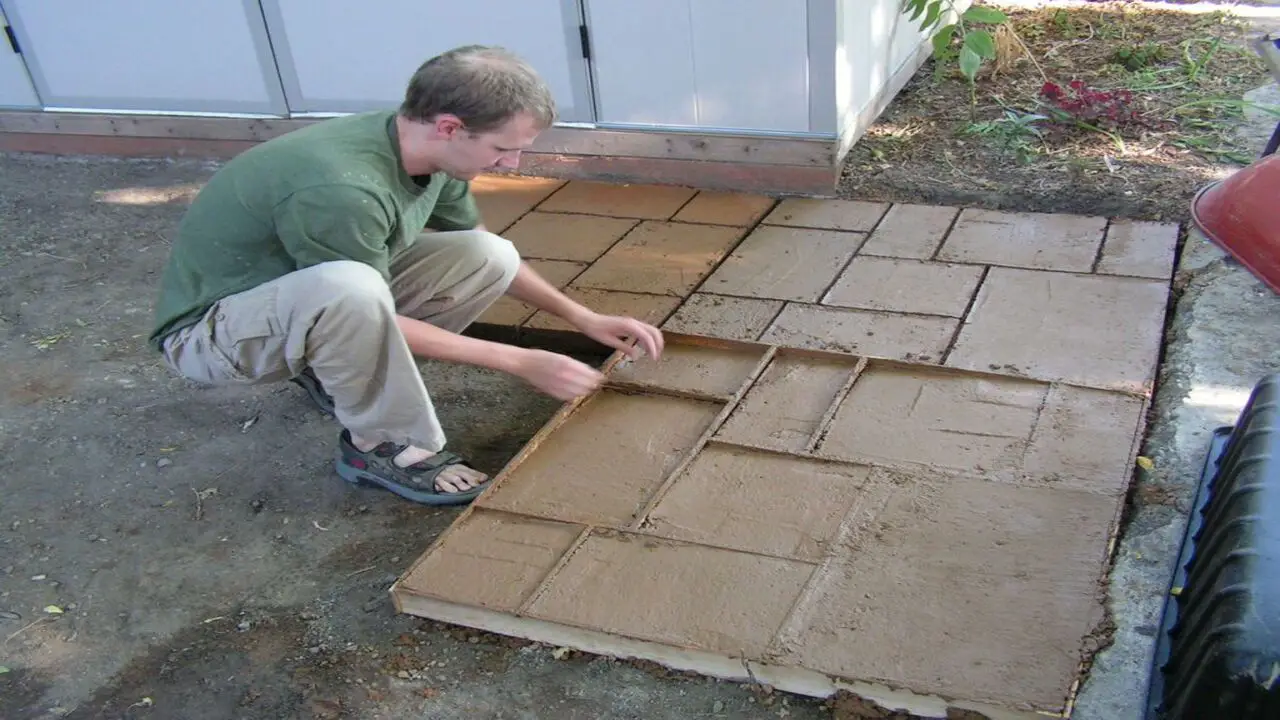
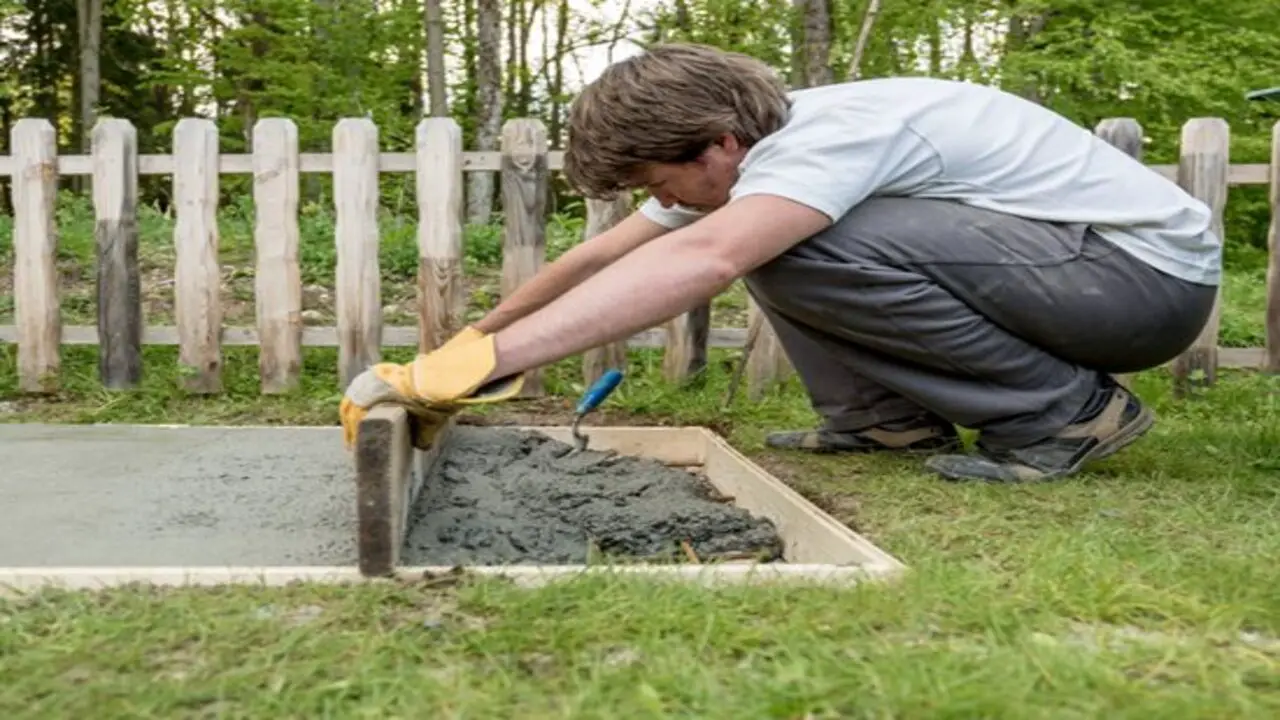
Slowly pour the concrete mixture into the mold to create a concrete mold. As you pour, gently tap the mold to remove any air bubbles. If you want to add decorative elements, such as aggregate, this is the time to do it. Be sure to fill the mold, avoiding any pocket holes. Once the mold is filled, level the surface of the concrete for a smooth finish.
Finishing The Mold
To ensure a perfect concrete mold, paying attention to the finishing touches is essential. Remove excess concrete from the mold and smooth rough edges or seams using sandpaper or a trowel. Allow the concrete to cure for the recommended time to ensure it sets properly.
After curing, check for imperfections or air bubbles and address them accordingly. Lastly, clean the mold thoroughly before reusing it. By taking these steps, you can ensure a flawless and durable concrete mold.
Sealing The Concrete
To ensure the longevity of your concrete mold, it’s important to seal it against moisture and damage properly. Applying a suitable sealant will provide an extra layer of protection. Consider using a silicone mold for its easy-release properties, making it effortless to remove the finished product.
You can use glue or other adhesives to reinforce any weak spots in the mold. Additionally, seal any cracks or imperfections on the concrete surface and follow the manufacturer’s instructions for the specific sealant.
Common Mistakes To Avoid While Creating A Concrete Mold

Creating a concrete mold can be a challenging task, but by avoiding common mistakes, you can ensure that your mold turns out perfectly. When creating a concrete mold, there are several common mistakes that you should avoid to ensure a successful outcome. Here are some key mistakes to steer clear of. Avoiding these common mistakes can increase your chances of creating a successful and durable concrete mold.
- Insufficiently preparing the mold: Before pouring the concrete, it is essential to properly clean and coat the inside of the mold with a release agent or oil to prevent the concrete from sticking.
- Using the wrong type of concrete mix: Different projects require different types. Make sure to choose the appropriate mix for your specific mold and application.
- Overcomplicating the design: Remember that complex molds can be challenging to remove and may result in breakage or damage to the finished product. It is often best to start with simpler designs until you gain more experience.
- Rushing the curing process: Concrete takes time to cure properly. Be patient and allow sufficient time for the concrete to set and harden before removing it from the mold.
- Neglecting proper reinforcement: Depending on the size and shape of your mold, reinforcing materials such as rebar or wire mesh may be necessary to provide added strength and stability to the final product.
How Can Maintenance Extend The Life Of Your Concrete Mold?
Maintaining your concrete mold is essential for extending its lifespan and ensuring optimal performance. Here are some key maintenance tips to keep in mind. By following these maintenance practices, you can prolong the life of your concrete mold and continue creating high-quality casts for your projects.
- Clean the mold after each use. Remove any debris, residue, or excess concrete from the surface of the mold. This will help prevent buildup that can affect the quality of future casts.
- Store the mold properly. Keep it in a cool, dry place away from direct sunlight and extreme temperatures. This will help prevent warping or damage to the mold.
- Inspect the mold regularly. Check for any signs of wear and tear, such as cracks or chips. If you notice any damage, repair or replace the mold as needed to ensure accurate and consistent results.
- Apply a release agent before each use. This will help facilitate the removal of the cured concrete from the mold without causing any damage.
Tips & Tricks For A Perfect Mold
When it comes to creating a perfect mold, there are several tips and tricks that can help ensure your project turns out just right. When making a concrete mold, a few tips and tricks can help you achieve the perfect result. Here are some things to keep in mind. By following these tips, you can ensure that your concrete mold turns out beautifully every time.
- Use a high-quality mold release agent to prevent the concrete from sticking to the mold.
- Consider using a silicone mold for intricate or detailed designs, as it is flexible and can easily release the concrete.
- Ensure your mold is properly supported and secured to prevent leaks or shifting during pouring.
- Use reinforcement materials like wire mesh or rebar to strengthen your concrete mold.
- Allow enough curing time for the concrete to be fully set before mold removal.
Conclusion
Creating a concrete mold can be a simple and rewarding process. You can ensure a successful outcome by following the step-by-step process outlined above on how to make a concrete mold and avoiding common mistakes. Remember to use high-quality materials and maintain your mold to extend its lifespan.
Additionally, incorporating tips and tricks, such as using release agents and adding reinforcement, can help you achieve a perfect mold. Whether a DIY enthusiast or a professional, having the right mold is essential for any concrete project. So, get started on your next project and enjoy the satisfaction of creating something beautiful and functional with your custom-made concrete mold.
Frequently Asked Questions
What Can I Use For A Concrete Mold?
You have several options for creating a concrete mold. Plastic, rubber, silicone, and even cardboard or foam board can be used. Just make sure the material is sturdy enough to support the weight of wet concrete. Wooden molds are also possible, but removing the hardened concrete may be more challenging.
Can Styrofoam Be Used As A Concrete Mold?
Yes, Styrofoam can be used as a concrete mold. It is a popular choice for creating lightweight and intricate molds. Before pouring the concrete, coat the Styrofoam with a release agent. When removing the hardened concrete from the mold, be careful not to damage the Styrofoam.
What Materials Do I Need To Make A Concrete Mold?
You will need a mold-release agent like petroleum jelly or cooking spray to make a concrete mold. Additionally, you’ll need a mold frame made from wood, plastic, or metal. Don’t forget the concrete mix and water that can be purchased at any hardware store. Optional materials include reinforcing fibers or mesh for added strength.
What Are The Best Techniques For Pouring And Curing Concrete In My Mold?
Pouring and curing concrete in your mold requires careful techniques. Use a vibrating tool to ensure even settling and filling of corners. Slow down drying with plastic wrap or a curing compound to prevent cracking. Keep the concrete moist during curing by spraying or covering it. After curing, gently remove the mold and let the concrete dry completely before use.
Can I Reuse My Molds Again And Again?
Concrete molds can be reused multiple times with proper cleaning and storage. Applying a release agent may be necessary to prevent sticking. Reusing molds saves time and money on future projects.

I am passionate about tools and electric work. I love finding new tools and experimenting with them.
